
Find out more
With any kind of art show, there are so many things that happen behind the curtain. We really wanted to pull that back a little. Here are some general sections of good stuff.
- Selfie Booth Digital Construction Process
- Selfie Booth User Testing
- Selfie Booth Construction
- Selfie Presentation
- Light and Dark Compositions
- Sigils and Painting
- Original Concept Art
- Postcard
- Light Violins
How to Make a Selfie Light Booth
● ● ●
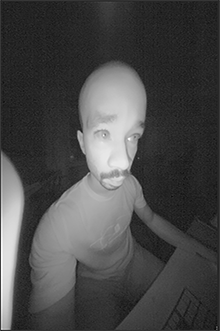

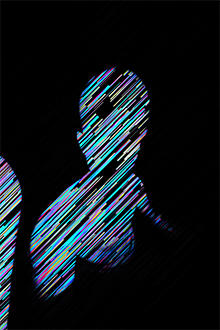
01 Raw Depth Input
The Leap Motion uses two infrared (IR) cameras to detect depth. This is what it sees.
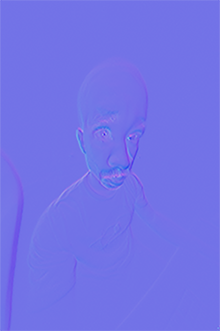
02 Surface Mapping
A Sobel filter is applied to generated a normal map that will be used to add more detail to the displacement later.
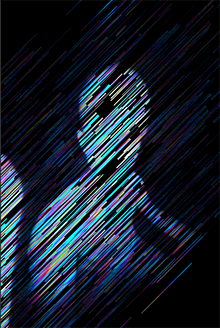
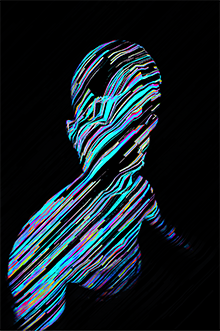
03 Particle System
Auditorium Duet’s particle system, Rho, uses a dynamically-generated mesh to represent simulated particles as ribbons of light.
● ● ●
04 Texture and Color Correction
Combining the last three passes yields this result.
05 Threshold
With a basic threshold, we can remove objects that are too far from the camera.
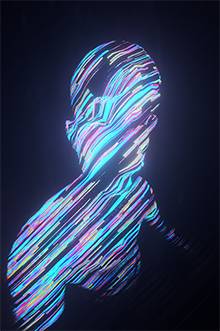
06 Depth Displacement
Using the depth image and the normal map, we distort the particle system to flow across the subject in three dimensions.
● ● ●

07 Camera Bloom
Using Sonic Ether’s bloom tech, we generate light from the particles, simulating the interactions that take place in a real camera lens.
08 Depth Masking
Now, with our virtual camera, we detect distance and use that generate a new depth mask.
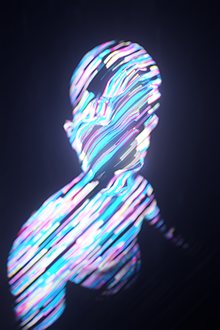
09 Depth of Field
Finally, we apply a Depth of Field effect, simulating the focal depth of a real camera. This is the final result.
● ● ●
10 Put it Together in Real Time
All of this is done in real time, yielding an effect unlike anything you’ve ever seen.
● ● ●
Software and Print Testing
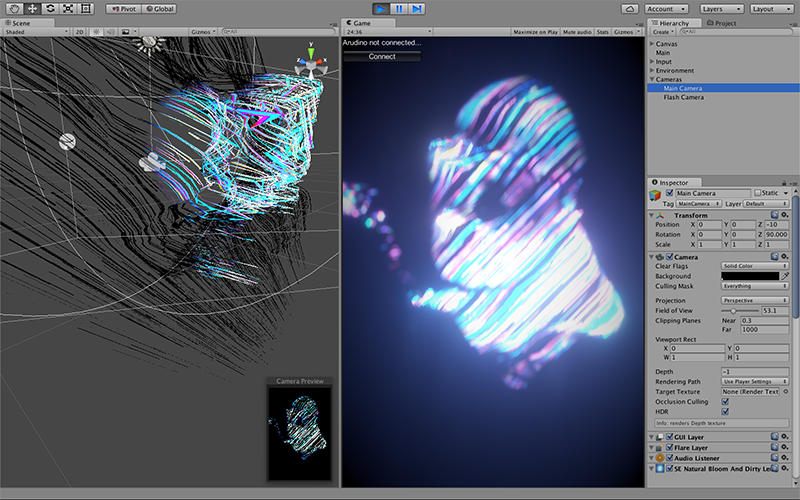
We created the Selife Light Booth using a popular game engine we’re familiar with called Unity3d. The beams of light were originally created for Auditorium Duet, the sequel to our very first game Auditorium.
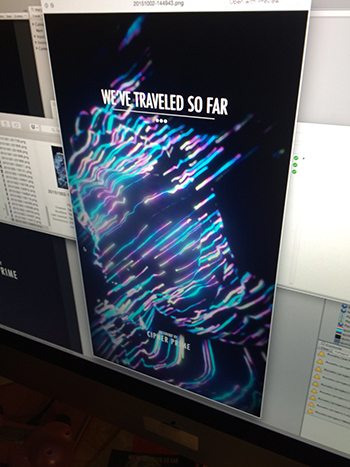
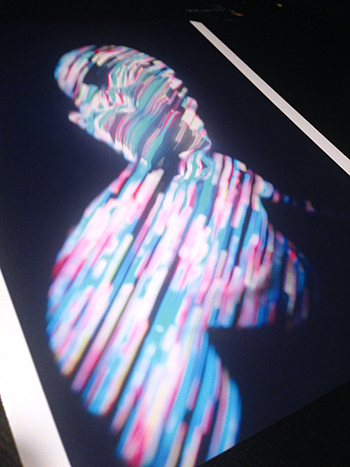
One of our biggest concerns in this whole process was having beauitful, fast, and affordable prints. After quite a few printer tests, we settled on using the Canon Selphy. Here is our very first print test on this printer. [Above Right]
● ● ●
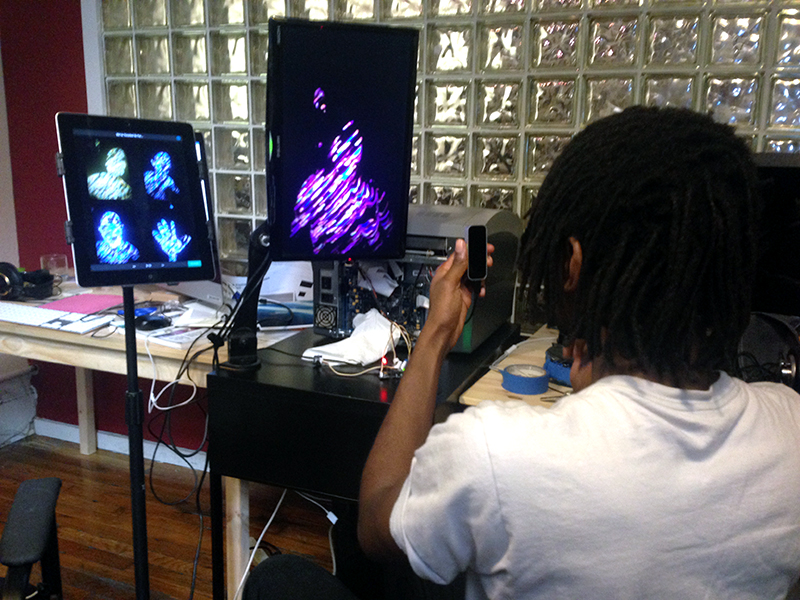
User Testing
We spent quite a while talking about what the process of printing would look like. What kind of experience did we want someone to have when they walked up and played with the booth? How many photos could they take? Ultimately, we decided to use an iPad app software called Livebooth to handle these needs. After some extensive testing, we were able to get the process down flawlessly.
● ● ●
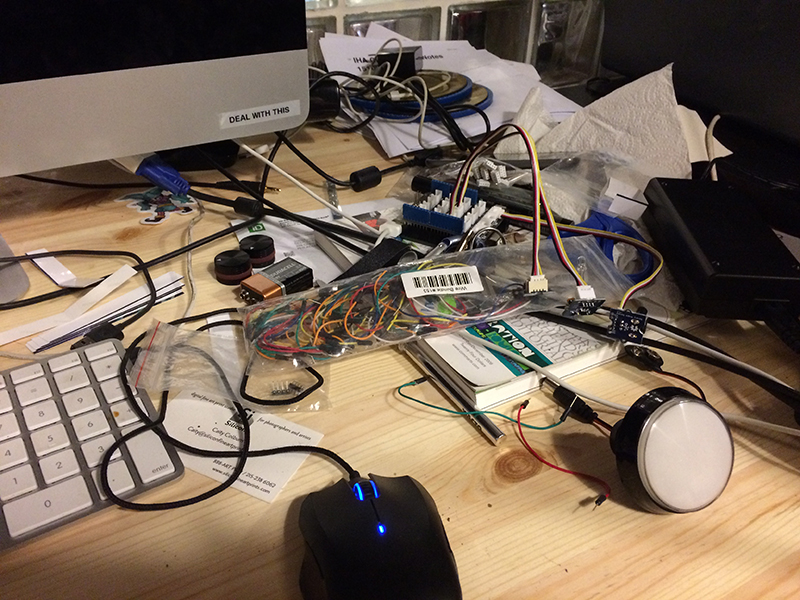
Hardware
We used Arduino to interface with our Light Selfie Booth Application. We used a glowing white button to take your selfie with two knobs used to control hue and saturation. We have a lot of fun variables to play with, but ultimatly went with this simple interface. It might be cool to add controls for things like particle turbulence in the future.
● ● ●
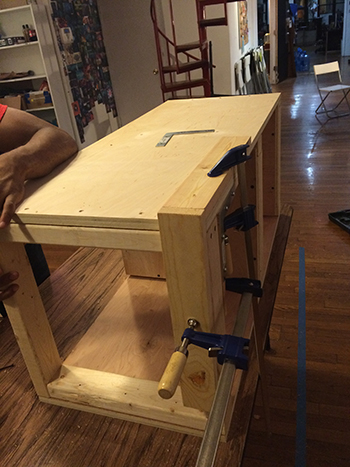
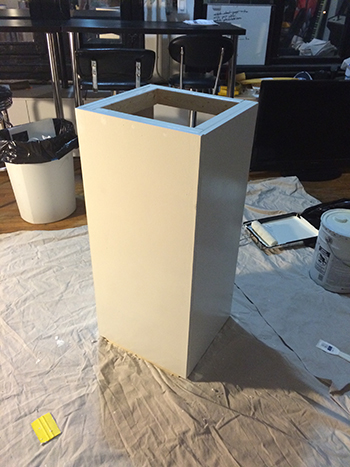
Booth Construction
It’s sort of ridiculous how hard it was to find a cheap white presentation platform. Searching online yielded few affordable options, so we opted to create our own. The entire process of creating the booth took around three days. (We even created our own tools, building a square from scrap timber we had laying around.)
● ● ●
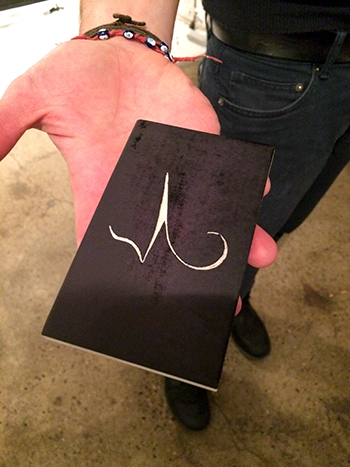
Selfie Sleeves
Art is all about the experience, so we created Wax Paper Sleeves by carving the Auditorium Duet Logo into a Rubber Block and hand-stamping them. This was a very lengthly process, but yielded a simple, elegant result.
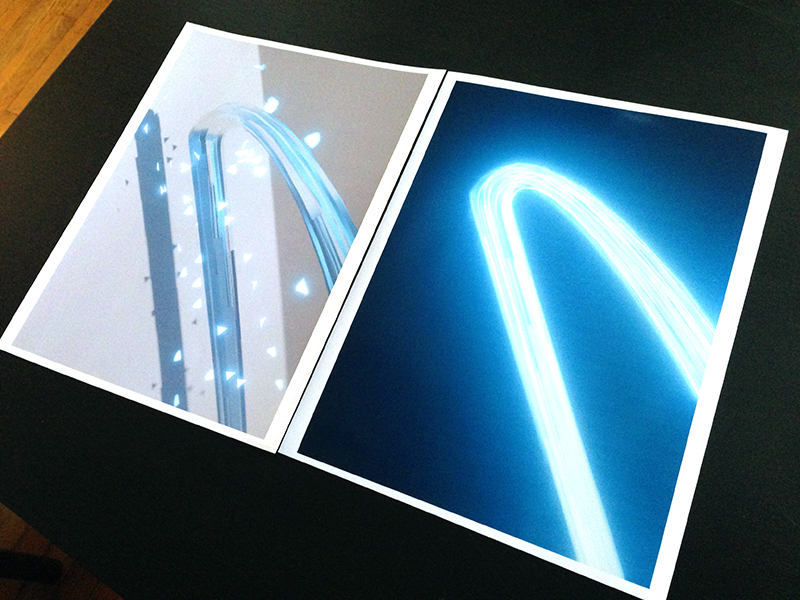
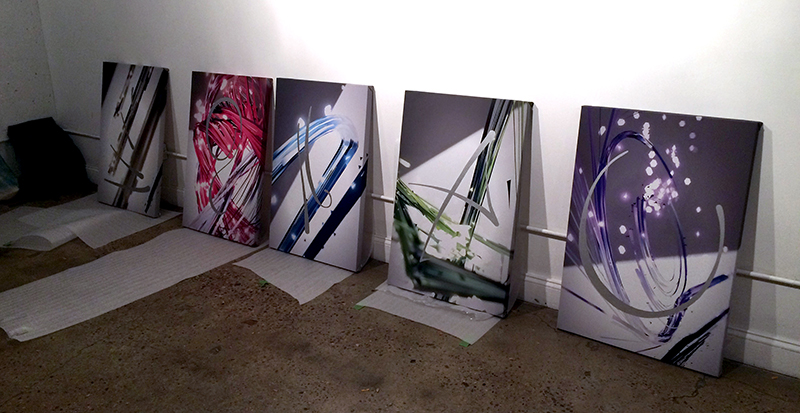
Showing Duality Between the Past and the Future
From the moment we had accepted the challenge of creating this show, we knew we wanted to offer at least three scales of pieces. But more importantly, we also knew we wanted the medium and large pieces to mirror each other. A lot of care and craftsmanship went into making sure we could portay both worlds with the exact same content.
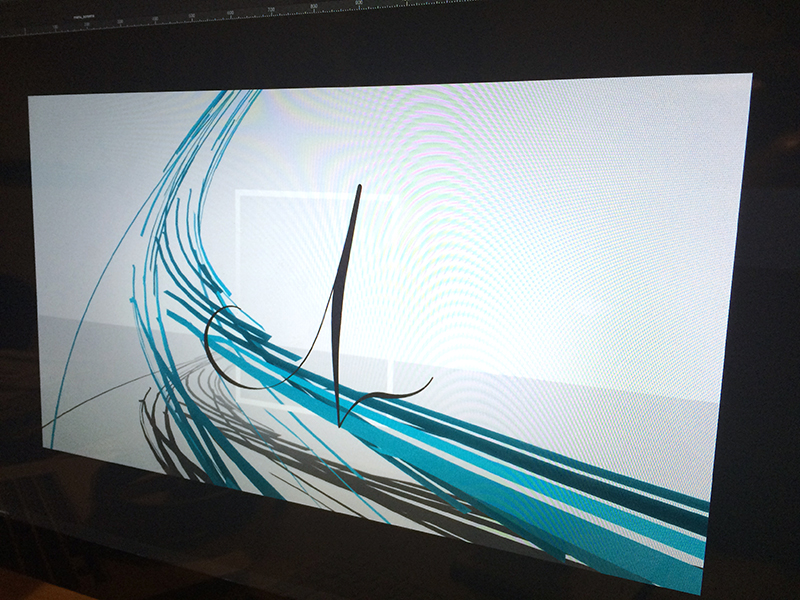
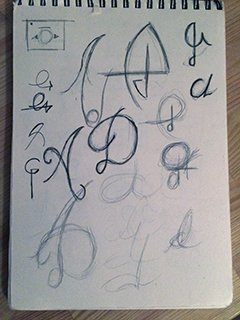
Original Concept Art
The world of Auditorium is quite flat. At some point, we decided to use the background of the game as a horizon line to create unique compositions. With the thought of creating a brand new renderer firmly in mind, this was the final concept design that we created before developing this new rendering technique.
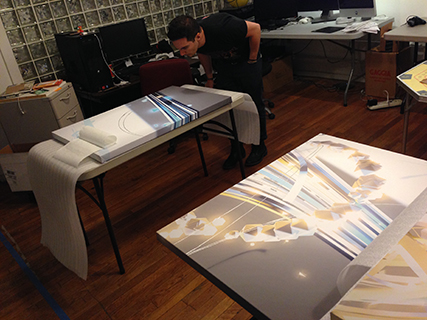
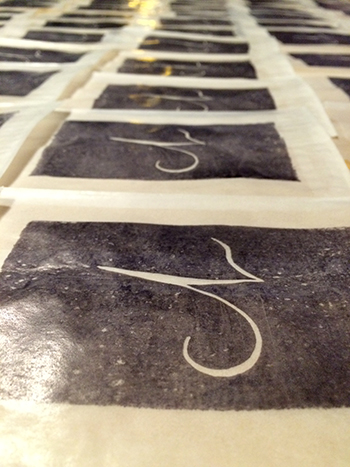
Sigils and Painting
Each large piece was printed with archival ink then hand-embellished with their respective sigils. These sigils represent the mood and spirit of each world these game elements are encountered in Auditorium Duet. Here you can see Sean Martorana from Indy Hall Arts taking a look at our tryptic during its initial painting process.
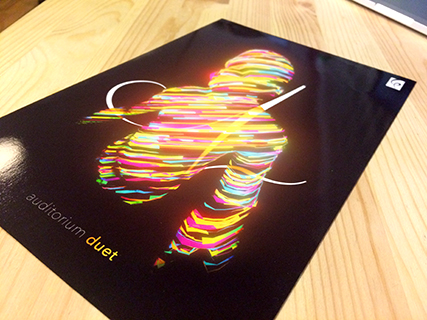
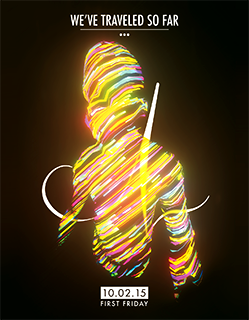
PostCard
This was our very first art show! Of course we made some baller postcards to both celebrate and promote. Our initial concept used the game title Auditorium Duet before we had completely finalized the show name, We’ve Traveled So Far.
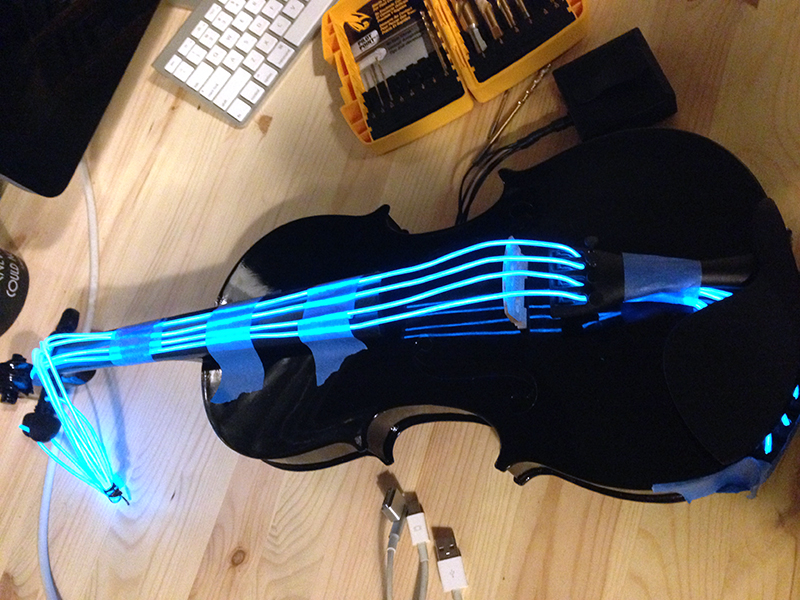
Light Violins
Not everything we tried made it into the show. Here is a prototype of the Light Violins we were going to use for the window display.